- Details
Okay, haven’t blogged in a while – lots going on! We’ve had some family time (reunion, birthdays, and some family crises) and some illnesses. I have also been busy trying to get some projects done in between which I will be doing posts on in the near future.
This is a project I did a few weeks back and didn’t have time to blog about it. It is something that you have probably seen on a variety of blogs and here is my version.
The bed in our bedroom is a little too tall for either myself or my husband to comfortably sit on and put on socks or shoes. I go into the living room to do that but my husband likes to do it in our bedroom. In the past, he has used folding chairs but he is very hard on them and has gone through two of them in about 2-1/2 years.
I had an old wooden stool that was given to me by my parents years ago and have always intended to paint it and reupholster the top but never got around to it until now. I figured that it would be sturdy seating and should handle the wear and tear from my husband.
Here it is in all its glory.
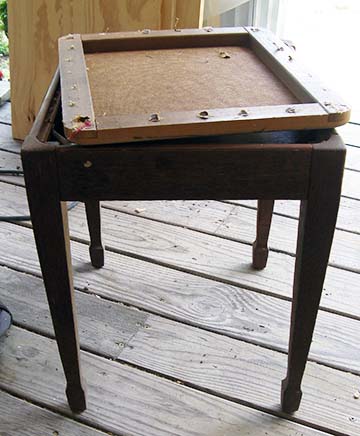
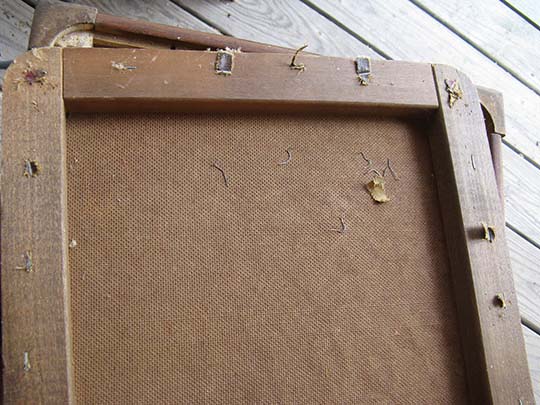
I had already removed the previous upholstery. Next was to remove all the staples on the underside of the seat.
I cleaned the base of the stool and then painted it with DIY chalk paint. I used ingredients that I already had on hand and the recipe I used is this one:
• 3 parts Paint
• 1 part Plaster of Paris
• Water to mix
I found this worked well but it did thicken some before I could apply the second coat and I had to add water until I got the right consistency. After painting, as you can see, I distressed it a little using sandpaper. I then gave it a coat of wax. I didn’t have the pricy wax, just the Minwax paste finishing wax. It worked just fine.
I’m sorry I don’t have pictures of the upholstery process – I forgot to until I was done. Believe me, I wasn’t about to take it apart and redo it just for pictures! There are a lot of tutorials online for this type of simple upholstery.
I used 2” high density foam and 2 layers of some batting I had on hand. I had bought 3 different fabrics over the last few months I thought I wanted to use and finally decided on this ticking style fabric in red/white.
Here is the finished stool:
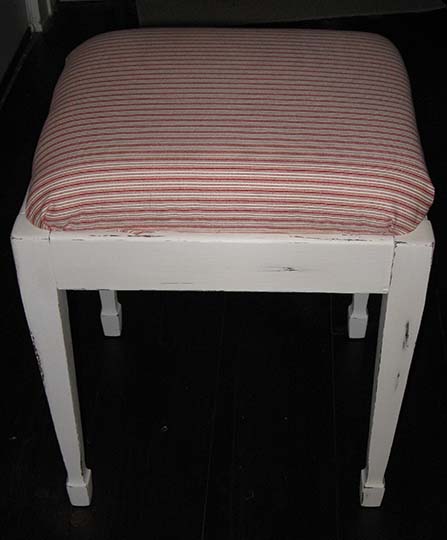
My husband loves it and it is sturdy enough to take any abuse he decides to heap on it!
- Details
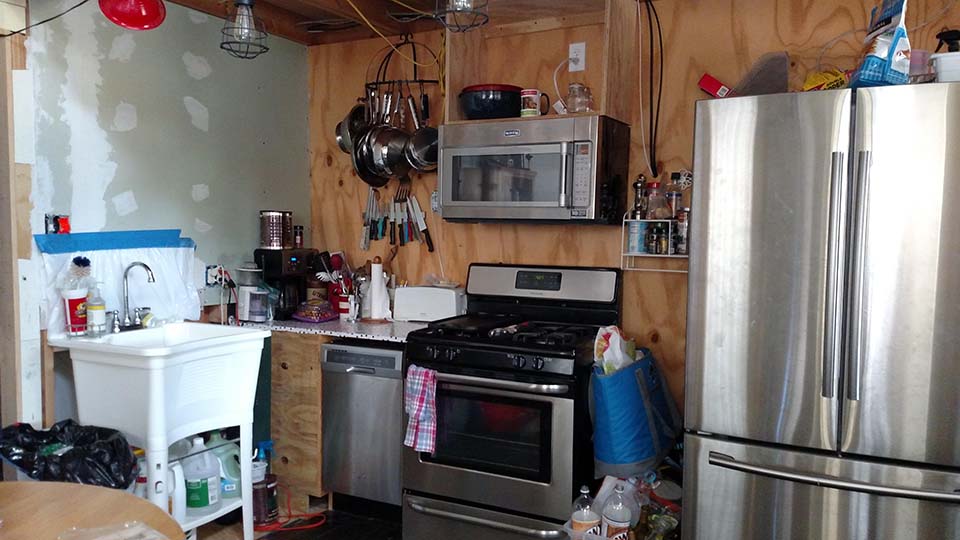
The last week I finally started working on kitchen cabinets. This is what I have been working with the last 2-1/2 years:
- Details
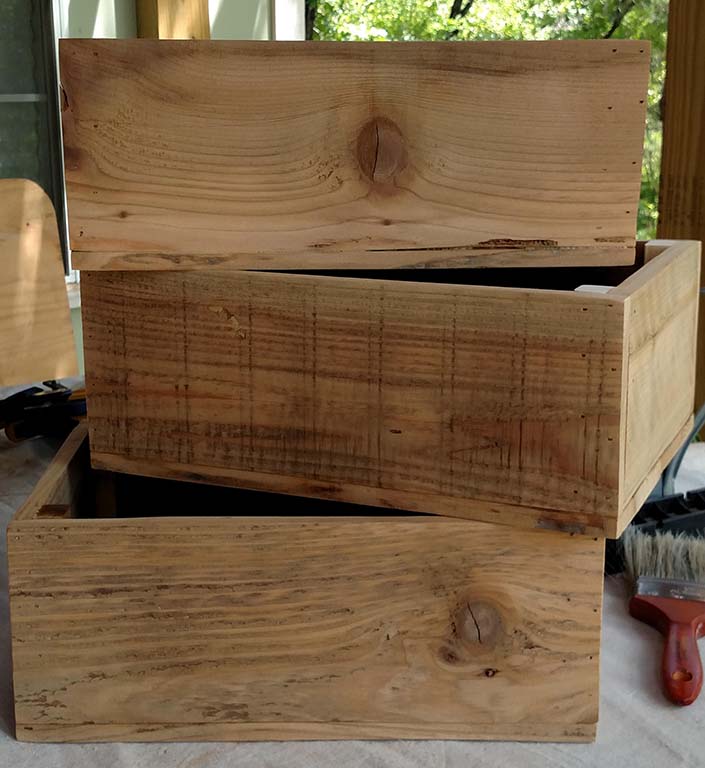
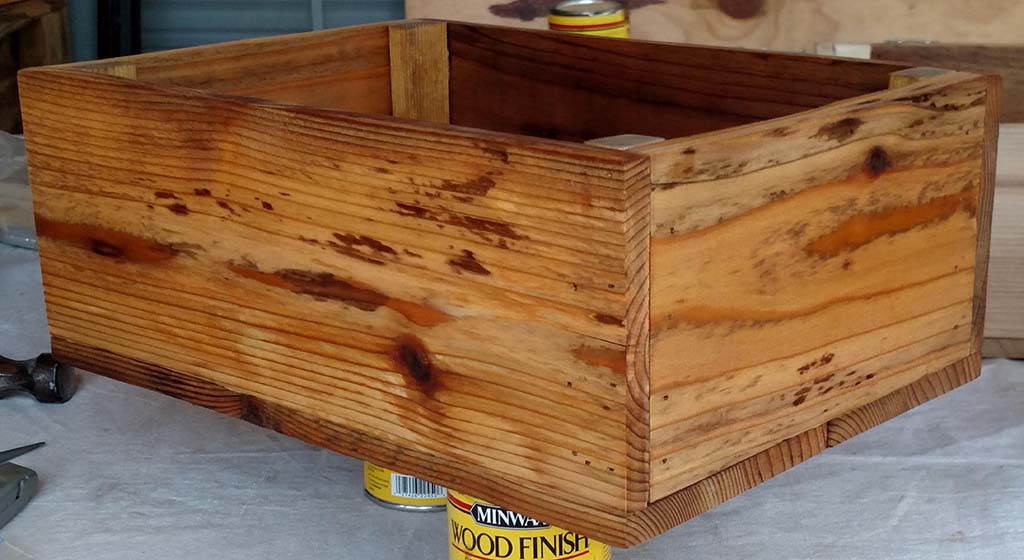
A few weeks ago, we replaced a small refrigerator in my husband’s work office with a slightly bigger unit. He keeps his coffee maker on top and asked if I would make him a wooden tray to keep everything corralled and from being knocked off. With all the building we have done in the last ten years (and since I am cheap) we have tons of scrap. Last year I built 10 boxes and 2 trays from a stack of cheap cutoff cedar fencing for our family reunion. Here is a pic of the boxes (without the rope handles I later added). Unfortunately, I didn't take any pictures of the trays but I was very happy with them.
- Details
It has been too long since I posted. I’m sorry – I can only say that there have been a lot of family and health issues. I am determined to get back on track and start posting on a regular basis. My blog will be a work in progress as I do my best to learn the website application (it has been a lot harder than I anticipated). Please be patient with me!
My dewberries have finished for this year and I have gotten about 10-12 cups. And this was just picking the most easily accessible around the garden area and along the driveway. I would have been able to pick more if I had been willing to wade through shoulder high brush and weeds.