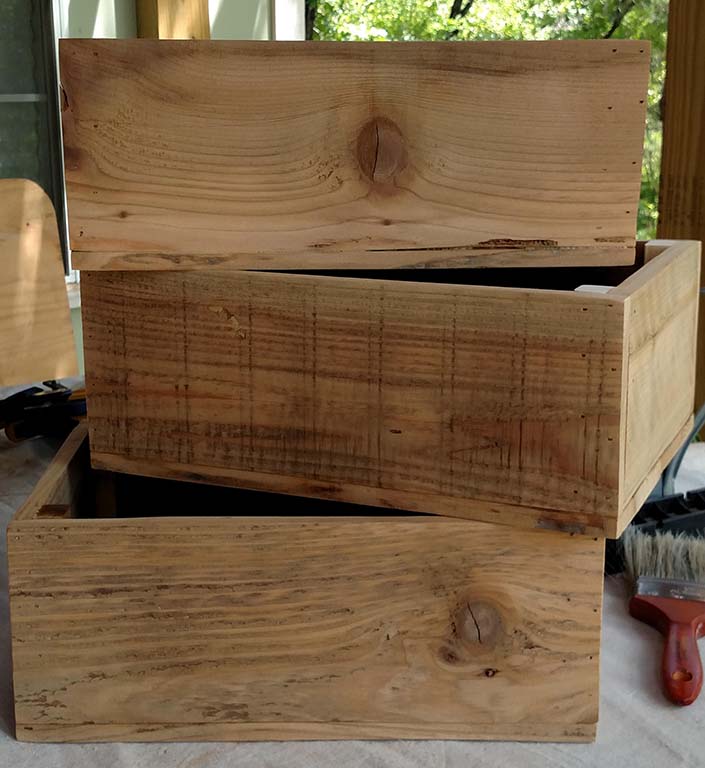
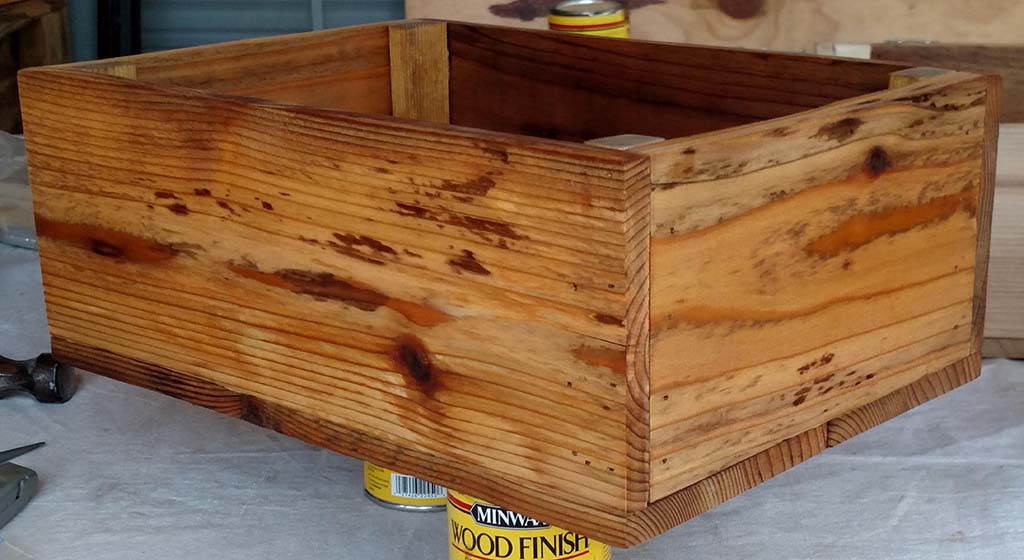
A few weeks ago, we replaced a small refrigerator in my husband’s work office with a slightly bigger unit. He keeps his coffee maker on top and asked if I would make him a wooden tray to keep everything corralled and from being knocked off. With all the building we have done in the last ten years (and since I am cheap) we have tons of scrap. Last year I built 10 boxes and 2 trays from a stack of cheap cutoff cedar fencing for our family reunion. Here is a pic of the boxes (without the rope handles I later added). Unfortunately, I didn't take any pictures of the trays but I was very happy with them.
The previous trays were just sanded and sealed with polyurethane but I was using a variety of scrap for this tray so I decided to do a distressed painted finish. My husband asked that the tray be 14” x 17” so the first thing was to dig and locate scrap that would work within those measurements.
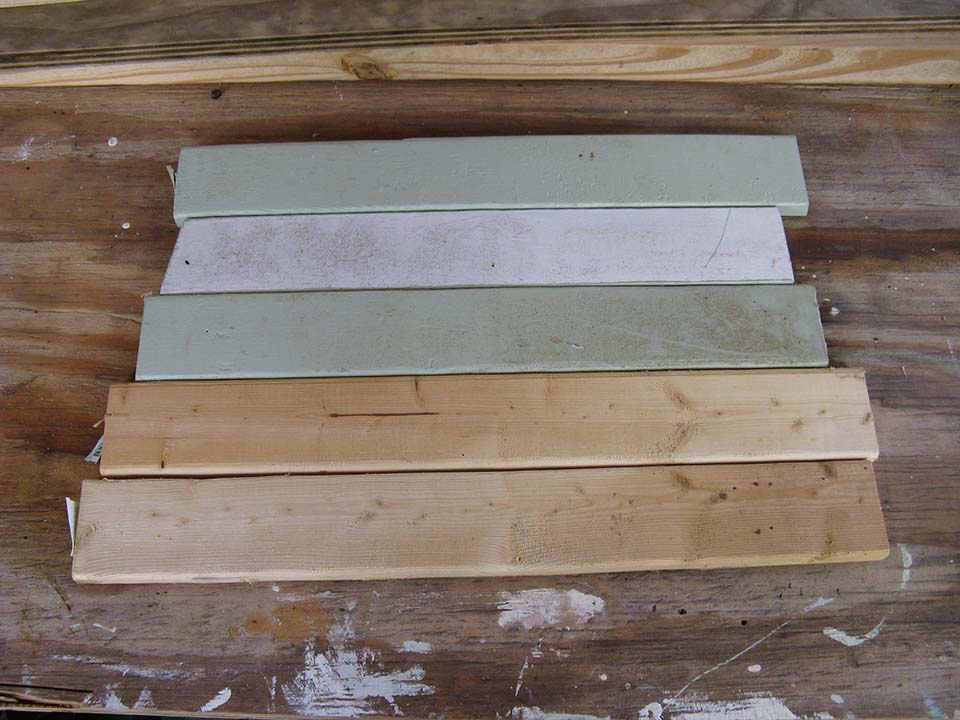
I found several pieces of 1x3, some which were painted. I didn't mind the variety of finished because I figured it would just add to the distressed look.
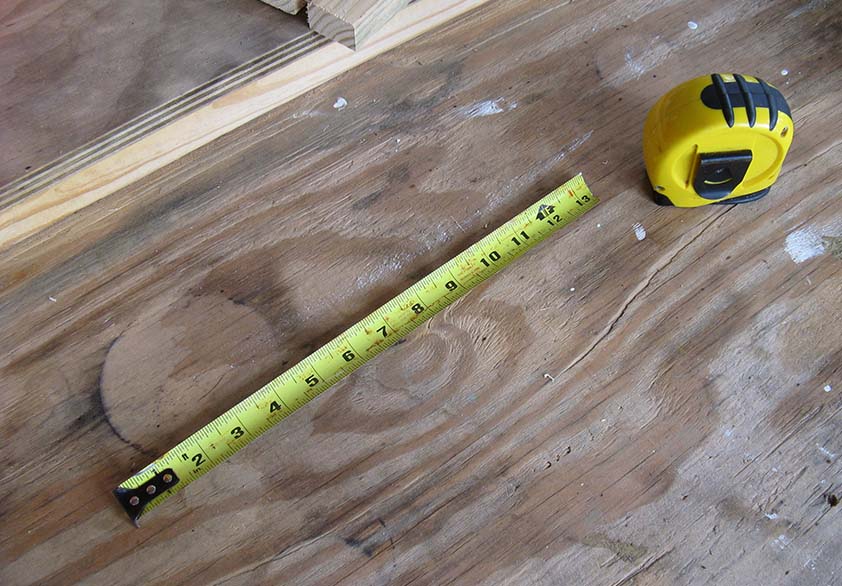
I cut the 1x3 pieces to length and then, because I needed to glue them together, I ran them through the table saw, removing enough on each side to square up the edges. Then I cut them to length. This is what happens when you don’t completely close your tape measure and set it out of harm’s way! Thank goodness we have at least half a dozen of them!!
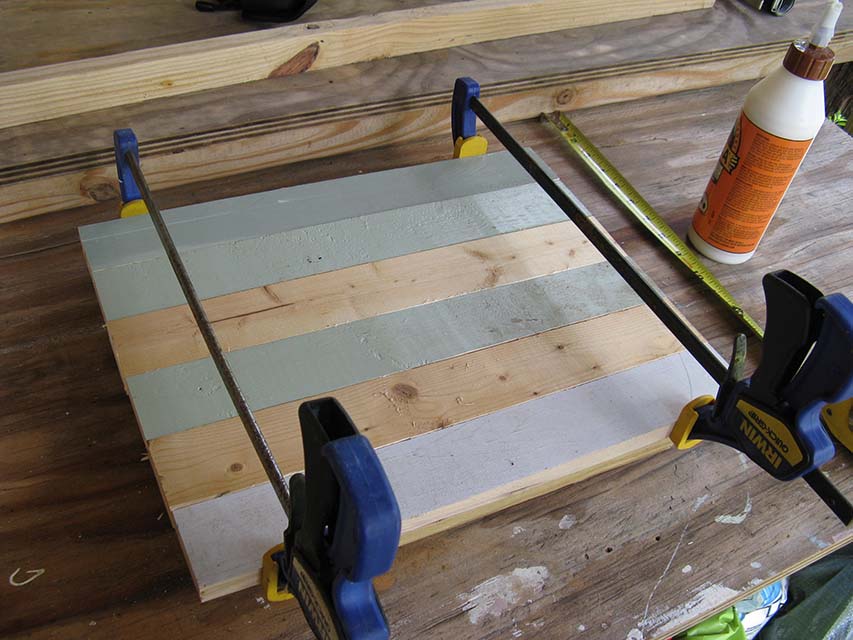
I glued and clamped the pieces together and left them overnight to dry.
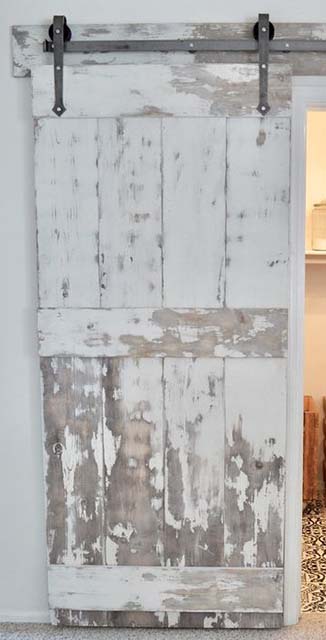
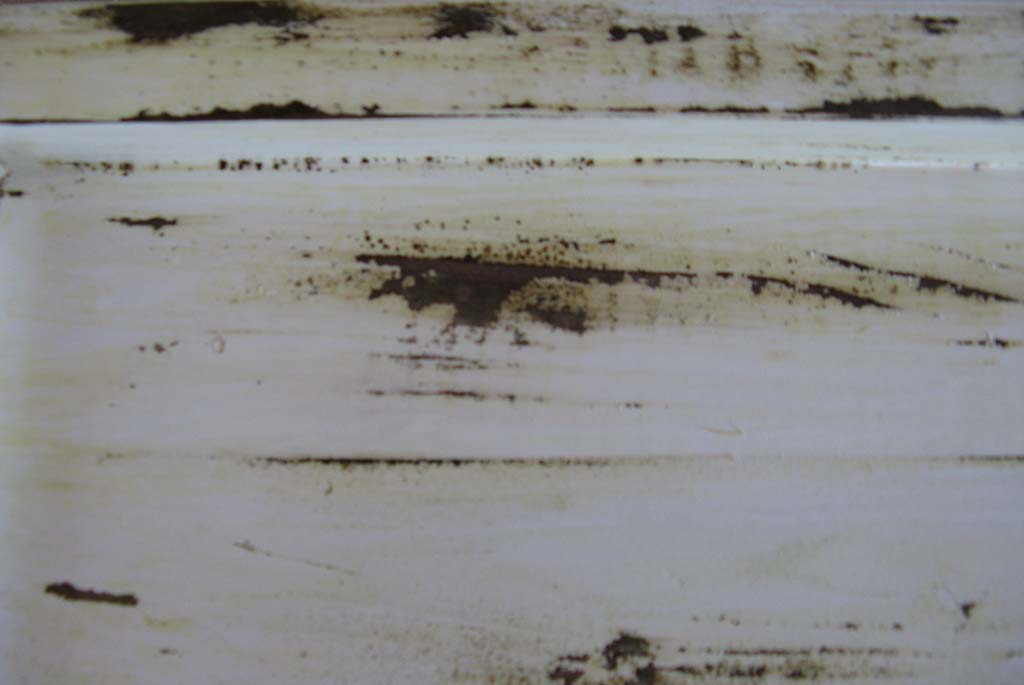
The next day I sanded the glued bottom making sure to leave most of the paint. Then, I cut, glued and nailed the edge pieces to the main tray section. After the glue was dry, I then stained it using some leftover “Jacobean” stain. I have been wanting to try a DIY chalk paint so after some research on Pinterest, I opted to use a recipe with plaster of Paris since that is what I had on hand. I painted two coats of the “chalk” paint then, using a random orbit sander, distressed the piece. I was hoping the stain that was revealed would become grayed like this:
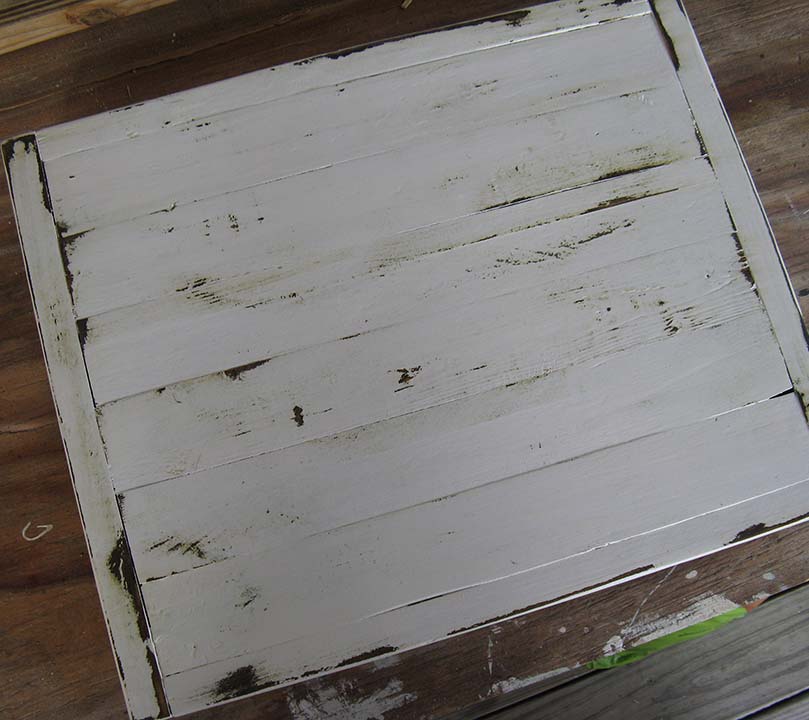
And it did a little. She used calcium carbonate in her DIY chalk paint so that may be the difference. I will try that in the future. I apologize that I forgot to take some pictures so there are no pics between gluing the bottom of the tray and distressing the chalk paint.
Because there would be possible water dripped on the tray, I decided that I would poly the tray. I have used it many times in the past over dark stained items but not on white painted pieces. I was unhappy with the results. It yellowed some as you can see but fortunately so far I had only done the bottom of the tray.
I sanded, repainted and re-distressed the bottom. This time I tried a lacquer. Ugh. This was worse. It pulled some of the stain out and pulled it over the white paint. This was not the look I was going for.
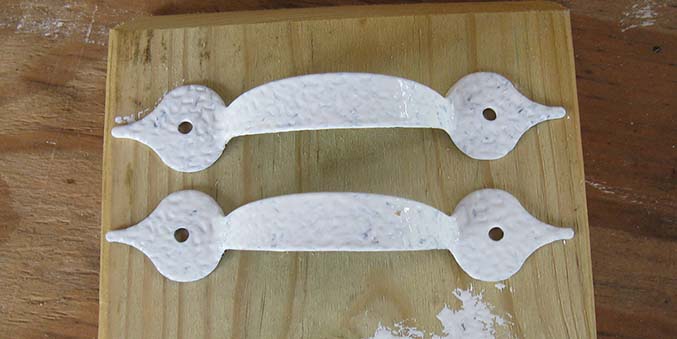
Again, I sanded, repainted, and distressed. Finally, I decided to just give it a good wax. I told my husband to make sure he wiped up any water he dripped on it. I picked up some inexpensive handles at Home Depot, and dabbed some chalk paint over them. I distressed them a little then sprayed them with a matte sealer.
I also added some self-adhesive vinyl surface bumpers to the bottom to keep the tray from sliding around.
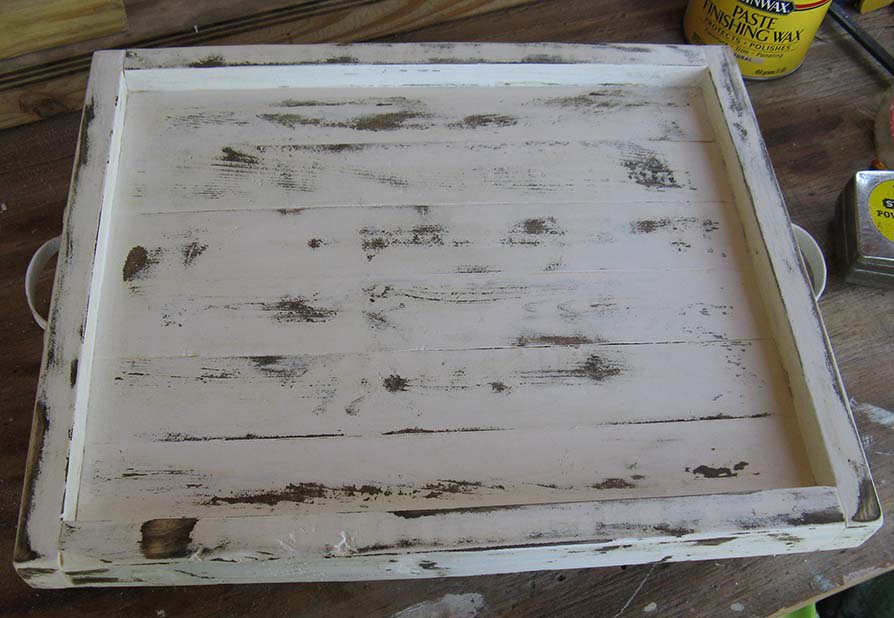
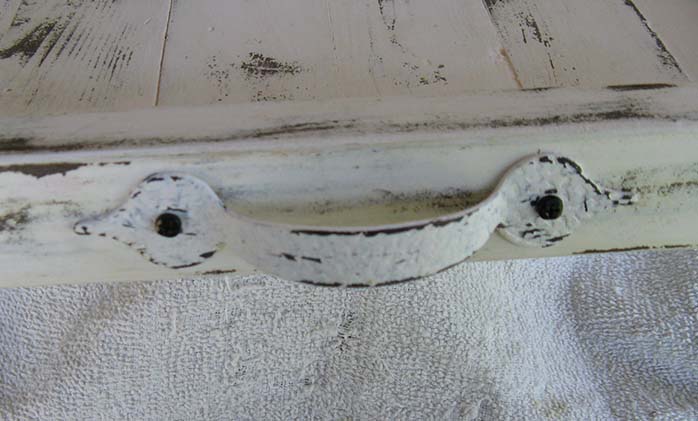
Ta Da! The finished tray. Not exactly what I had planned on but my husband was happy.