Last year I planted some bareroot fruit trees and berry bushes. I ordered them from the Arbor Day Foundation and they shipped them according to my “plant hardiness zone”. I am either in zone 8b or 9 depending on the zone map. At any rate, I planted them according to the planting directions and added a layer of bark mulch to help hold in the moisture. Nothing survived. We had a typical summer for Central Texas and I tried to keep everything watered during the months we didn’t get rain but it was for naught. I knew I would have some challenges with watering because there is not a water source where I am planting my garden.
This year, I am trying something different. I came across a book, Gardening With Less Water by David A. Bainbridge. In his book, one of the techniques was to use buried clay pots, or ollas, which are traditionally round unglazed pots with a narrow neck. These are buried up to the neck and filled with water which will then seep out into the surrounding soil. Irrigation ollas can be found but I discovered that they are rather expensive to use if you need more than one or two. In Mr. Bainbridge’s book, he uses standard red terra-cotta clay pots because they can be found everywhere and are inexpensive compared to the ollas.
So, this is what I decided to use:
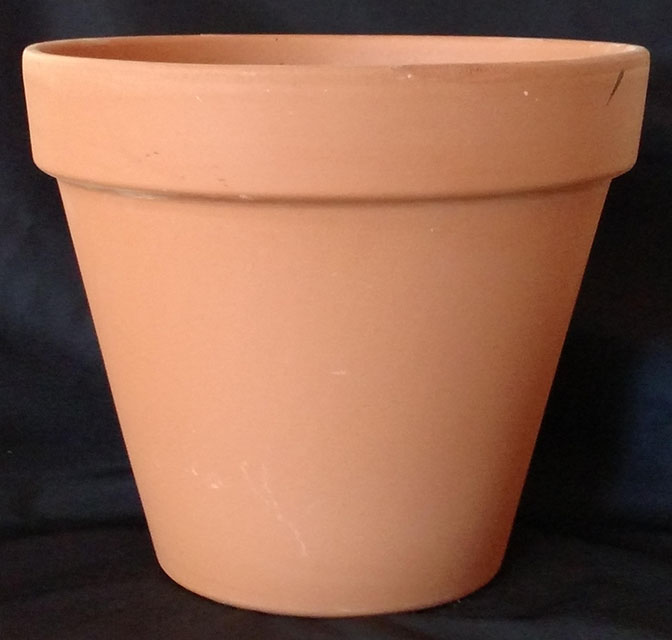
These are 10 inch pots and I also bought the base to use as a lid. These pots have a large hole in the bottom which need to be sealed because the idea is for the water to seep through the pot, not drain rapidly out of the hole. He gave two ways to seal the hole, one was to use a stopper and the other was to use silicone caulk. I decided to use the caulk.
The first challenge was to put something against one side of the hole to help hold the caulk in place while it cured. I found I had a supply of plastic lids I kept from things like yogurt or sour cream tubs. I normally use these like spoon rests but they seem to grow rapidly in number. I cut them up into rough circles (they don’t have to be perfect, just need to cover the hole) and taped them over the holes using scotch tape.
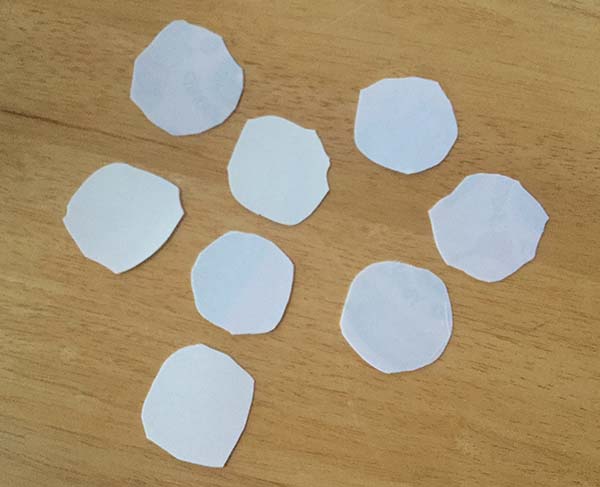
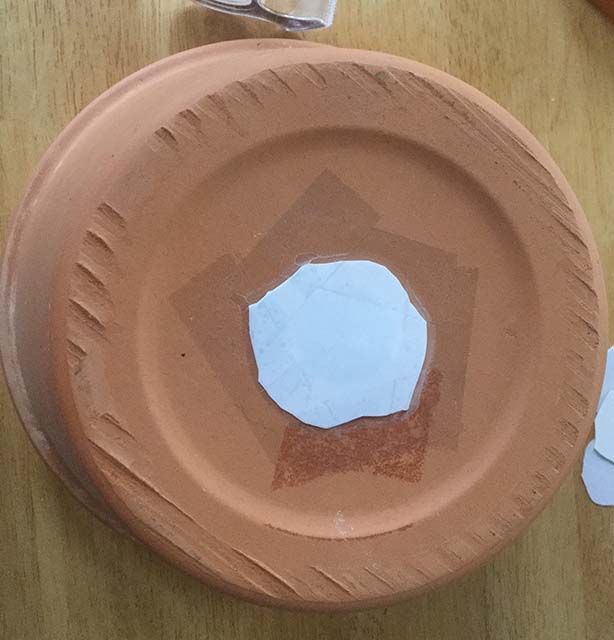
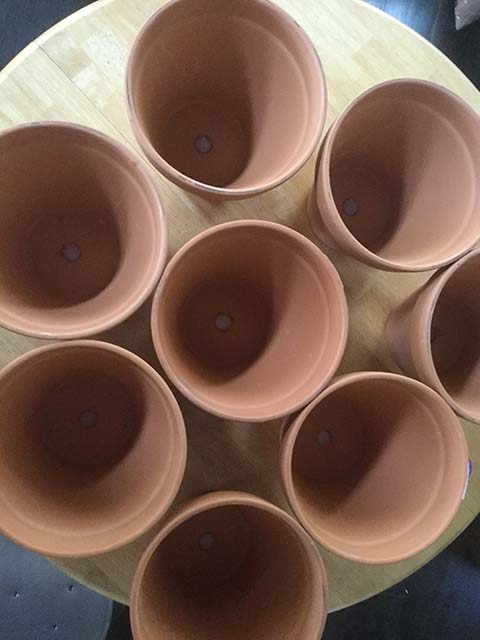
I then applied the silicone caulk, making sure to fill the hole completely. I then let them cure for a couple of hours before carefully removing the plastic by peeling up the tape and then sliding the plastic circle off the caulk. The caulk will still be sticky which is why you need to slide the plastic off and not pull it up. You don’t want the caulk to be pulled out of the hole. Let the caulk cure overnight before using the pot.
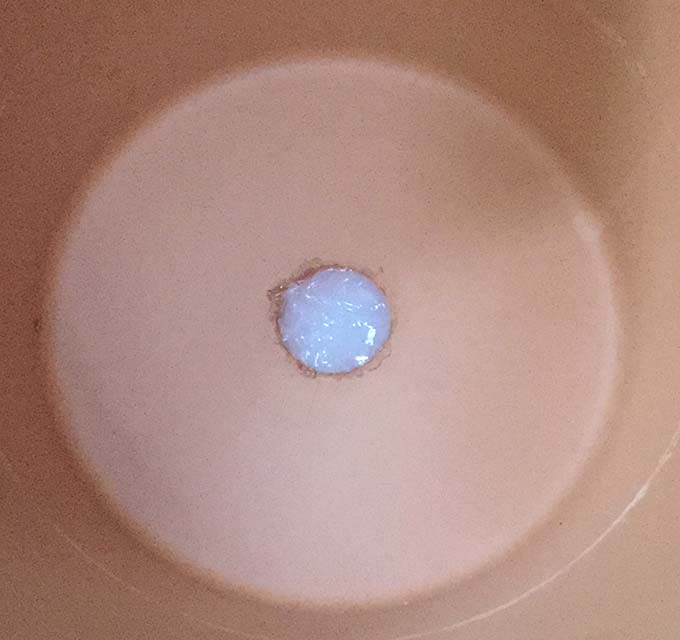
I have eight pots done!
In another post I will document the next step in burying the pots.